I get it. You want to draw one of the most recognizable faces in sports, Kylian Mbappé. It’s a big goal, but don’t worry, I’ve got you covered.
This guide breaks down the process into simple, manageable steps. Whether you’re just starting out or looking for a quick sketching method, this is for you.
We’ll focus on his distinct head shape, eyes, and smile. These key features will help you build a recognizable likeness.
By following these steps, you’ll be able to mbappe tekenen makkelijk. Trust me, it’s not as hard as it seems. Let’s dive in.
Gathering the Right Tools for the Job
Let’s get started with the essentials. You’ll need a standard HB pencil for your main lines, a 2H pencil for light initial guidelines, a kneaded eraser, and smooth drawing paper.
The 2H pencil is great because it allows for faint construction lines that are easy to erase later. This is key for getting those proportions right without leaving marks.
Smooth drawing paper is a must. It gives you a nice, even surface to work on, making your lines cleaner and more precise.
A kneaded eraser is flexible and can be shaped to pick up graphite without smudging. It’s perfect for detailed work.
Pro tip: Make sure your drawing environment is comfortable and well-lit. Good lighting helps you see your work clearly and avoid shadows on the paper.
When selecting a reference photo, look for a clear, well-lit, forward-facing image of Mbappé. This makes it easier to see his features and get the details right.
mbappe tekenen makkelijk starts with having the right tools and a good setup. Print your reference photo or keep it on a separate screen so you don’t have to switch tabs while drawing.
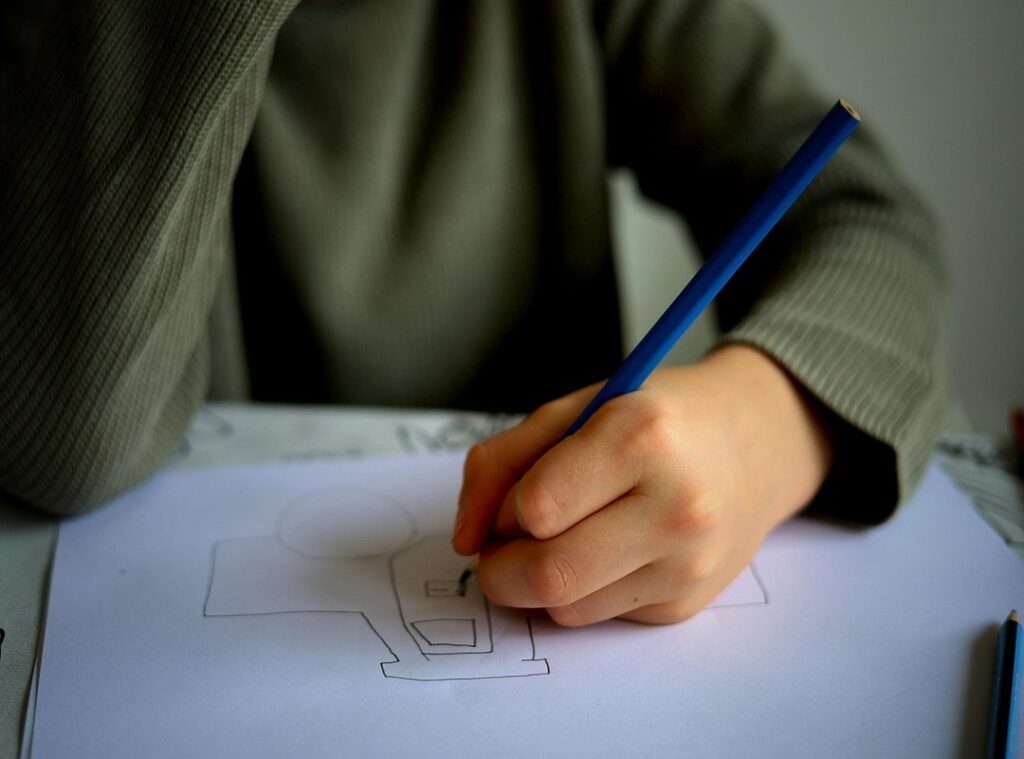
Building the Foundation: Basic Head Shape and Proportions
Let’s start with the basics. You need a large, slightly flattened oval for the basic head shape. This is key to capturing Mbappé’s likeness.
Draw a vertical centerline down the oval. Add a horizontal eye-line across the middle. These lines will help you place the features accurately.
- Place the nose-line halfway between the eye-line and the chin.
- Put the mouth-line slightly below the nose-line.
Next, sketch the jawline. It’s fairly strong and defined, connecting from the widest part of the oval down to the chin.
Remember, this stage is about creating a ‘map’ for the features. It’s okay if the lines are messy; they will be erased later.
The ears should be placed between the eye-line and the nose-line. This placement helps in maintaining the correct proportions.
CAPS: Keep your initial sketches light. This makes it easier to erase and adjust as needed.
By following these steps, you’ll have a solid foundation for mbappe tekenen makkelijk. Trust me, getting the proportions right at the start will make the rest of the drawing process much smoother. mbappe tekenen makkelijk
Capturing the Likeness: Drawing Mbappé’s Signature Features
When drawing Kylian Mbappé, start with the eyes. Focus on their almond shape and place them on the horizontal guideline, leaving about one eye’s width of space between them.
Move to the nose next. Use the guidelines to draw his relatively broad nose. Pay attention to the shape of the nostrils and the bridge.
Draw his mouth and iconic smile. The width usually lines up with the center of his pupils. This gives a balanced and natural look.
Sketch his eyebrows. They are typically straight and strong, framing his eyes. This adds to the overall expression and character of the drawing.
Use a light 2H pencil for initial placement. Once you’re happy with the position, darken the lines with an HB pencil. This method helps in making adjustments without smudging the drawing.
Remember, mbappe tekenen makkelijk is all about getting the proportions right and capturing his unique features. Take your time, and don’t be afraid to make small adjustments as you go.
Adding the Final Details: Hair and Simple Shading

I remember when I first started drawing, hair always seemed like a daunting task. But it doesn’t have to be. Focus on the overall shape of the hairline rather than individual strands.
This makes it much easier.
For a short, cropped hairstyle, use short, curved pencil strokes in a repeating pattern. It creates a natural, textured look. Trust me, it works.
Now, let’s talk about shading. Lightly shade the areas under the cheekbones, on the sides of the nose, and under the lower lip. This adds depth and dimension to your drawing.
Don’t forget to use an eraser to lift out highlights. A few strategic highlights on the forehead, nose, and cheeks can make the drawing pop. It’s a small touch that makes a big difference.
Take a step back and look at your drawing from a distance. This helps you spot any areas that need adjustment. Sometimes, a little tweak here and there can really bring the whole thing together.
If you’re following along with mbappe tekenen makkelijk, these tips will help you nail the final details. Keep it simple, and don’t overwork it. Good luck!
Your Finished Portrait and What to Do Next
Congratulations on completing your drawing of Kylian Mbappé! You followed the simple steps, starting with basic shapes, placing features accurately, and adding detail.
Don’t worry if it’s not perfect; every drawing is a step in your artistic journey. mbappe tekenen makkelijk by following these steps can be very rewarding.
Challenge yourself to try drawing him again from a different reference photo. This will help you build and refine your skills.
Remember, practice is the key to improvement. Keep drawing and enjoy the process!
 There is a specific skill involved in explaining something clearly — one that is completely separate from actually knowing the subject. Suzanne Reillyownser has both. They has spent years working with nutrition optimization plans in a hands-on capacity, and an equal amount of time figuring out how to translate that experience into writing that people with different backgrounds can actually absorb and use.
Suzanne tends to approach complex subjects — Nutrition Optimization Plans, Bikim High-Intensity Intervals, Fitness Routines and Fundamentals being good examples — by starting with what the reader already knows, then building outward from there rather than dropping them in the deep end. It sounds like a small thing. In practice it makes a significant difference in whether someone finishes the article or abandons it halfway through. They is also good at knowing when to stop — a surprisingly underrated skill. Some writers bury useful information under so many caveats and qualifications that the point disappears. Suzanne knows where the point is and gets there without too many detours.
The practical effect of all this is that people who read Suzanne's work tend to come away actually capable of doing something with it. Not just vaguely informed — actually capable. For a writer working in nutrition optimization plans, that is probably the best possible outcome, and it's the standard Suzanne holds they's own work to.
There is a specific skill involved in explaining something clearly — one that is completely separate from actually knowing the subject. Suzanne Reillyownser has both. They has spent years working with nutrition optimization plans in a hands-on capacity, and an equal amount of time figuring out how to translate that experience into writing that people with different backgrounds can actually absorb and use.
Suzanne tends to approach complex subjects — Nutrition Optimization Plans, Bikim High-Intensity Intervals, Fitness Routines and Fundamentals being good examples — by starting with what the reader already knows, then building outward from there rather than dropping them in the deep end. It sounds like a small thing. In practice it makes a significant difference in whether someone finishes the article or abandons it halfway through. They is also good at knowing when to stop — a surprisingly underrated skill. Some writers bury useful information under so many caveats and qualifications that the point disappears. Suzanne knows where the point is and gets there without too many detours.
The practical effect of all this is that people who read Suzanne's work tend to come away actually capable of doing something with it. Not just vaguely informed — actually capable. For a writer working in nutrition optimization plans, that is probably the best possible outcome, and it's the standard Suzanne holds they's own work to.