I’ve spent enough money on cycling gear I didn’t need to know exactly where you’re coming from.
You want to ride more without emptying your wallet on accessories that promise the world but deliver maybe 2% better performance. I get it.
Here’s the truth: most cyclists waste money because they can’t tell the difference between what they actually need and what the industry wants them to buy.
I’ve logged thousands of miles on my bike. I’ve bought the expensive stuff and the budget options. I’ve learned what matters and what’s just marketing.
This guide shows you how to spend smart on cycling gear. You’ll learn which accessories are worth your money and which ones you can skip without sacrificing safety or performance.
We’re going to focus on real-world value. Not what looks cool or what your favorite pro rider uses.
You’ll walk away knowing exactly where to invest and where to save with Bikimsum’s approach to essential cycling gear.
No fluff about becoming a better cyclist through expensive gadgets. Just straight talk about getting the gear you need at prices that make sense.
The Smart Cyclist’s Hierarchy: Essentials vs. Luxuries
Look, I know the temptation.
You walk into a bike shop and suddenly you’re eyeing $200 jerseys and carbon fiber everything. The sales guy tells you it’ll make you faster. Your riding buddy shows off his new gadget.
But here’s what nobody tells you.
Most of that stuff won’t make a real difference in your ride. At least not yet.
Some cyclists say you should buy everything at once to “do it right from the start.” They argue that quality gear prevents problems down the road.
Sure. But that’s how you blow through $1,000 before your first real ride.
The smarter move? Prioritize what actually matters.
I break cycling gear into three tiers. This is how to save Bikimsum without compromising your safety or progress.
Tier 1: The Non-Negotiables
Never skip these. A certified helmet comes first (the CPSC sticker matters). Front and rear lights keep you legal and visible. A solid U-lock protects your investment.
This tier isn’t optional. Period.
Tier 2: Performance Boosters
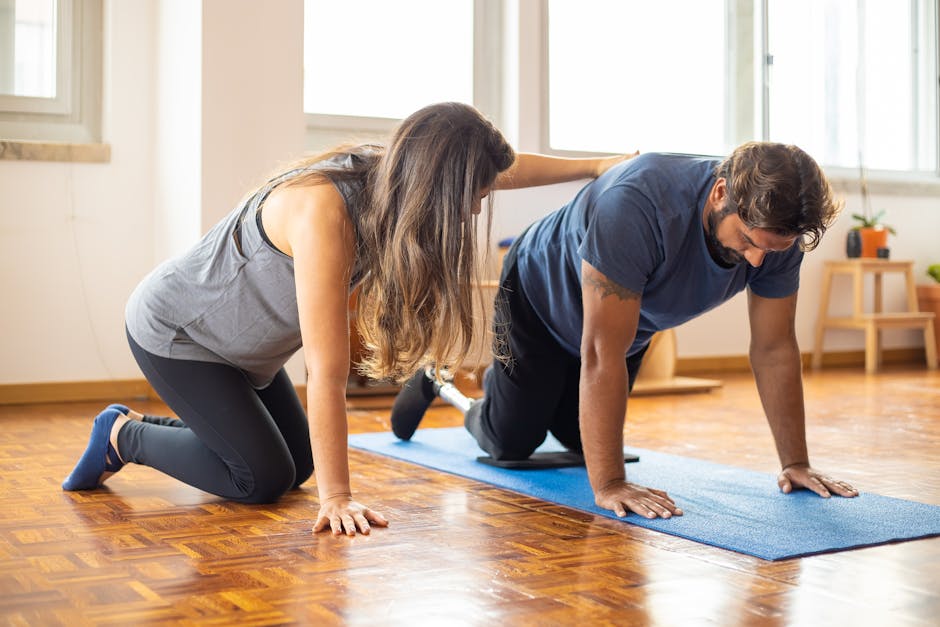
These make riding better without breaking the bank. Padded cycling shorts prevent saddle sores on longer rides. A basic bike computer tracks your distance and speed so you can measure progress. A floor pump keeps your tires at the right pressure. Investing in essential gear like padded cycling shorts and a basic bike computer can enhance your riding experience without breaking the bank, much like how Bikimsum offers affordable solutions for cyclists looking to elevate their performance. Investing in essential gear like padded cycling shorts not only enhances comfort on long rides but can also elevate your overall experience, especially when paired with tools like the Bikimsum for tracking your performance.
You’ll notice the difference here. But you don’t need the premium versions yet.
Tier 3: The Nice-to-Haves
High-end jerseys look great. Carbon fiber bottle cages save 20 grams (you won’t feel it). Aero gadgets promise marginal gains.
Wait for sales on this stuff. Or skip it entirely until you’re riding 100 miles a week.
Pro tip: Buy Tier 1 items NEW. For Tier 2, check last year’s models or gently used options. For Tier 3, only buy on clearance.
Your wallet will thank you.
Mastering the Market: Where and When to Buy
Timing is everything.
I’ve watched people drop $300 on accessories they could’ve gotten for $150 just by waiting a few weeks. It happens all the time.
Shop the off-season. Late autumn and winter are when you’ll find the best deals on last year’s models. Demand drops and retailers need to clear inventory. That’s when you strike.
I know someone who’ll say you should just buy what you need when you need it. That waiting around for sales means you miss out on riding time. And sure, if you need a helmet today because yours is damaged, buy it today.
But most accessories? You can plan for them.
Here’s what works. Embrace used gear selectively. Facebook Marketplace and cycling forums are perfect for pedals, saddles, and bike racks. You can save serious money (we’re talking 40% to 60% off retail).
But helmets? Always buy new. You can’t verify crash history and it’s not worth the risk. Same goes for anything related to safety that might have hidden damage.
Look for online bundles if you’re just starting out. Many retailers package lights, multi-tools, and saddlebags together for less than buying separately. It’s a simple way to get equipped without overthinking every purchase.
Your local bike shop matters too. They run end-of-season sales and often sell demo equipment that’s barely been used. Plus, building a relationship there gives you access to advice that’s actually useful (not just what you can find in a forum).
One more thing. Some people worry that buying used or waiting for sales means settling for inferior gear. That’s not how this works. You’re getting the same quality. You’re just being smarter about when and where you buy it.
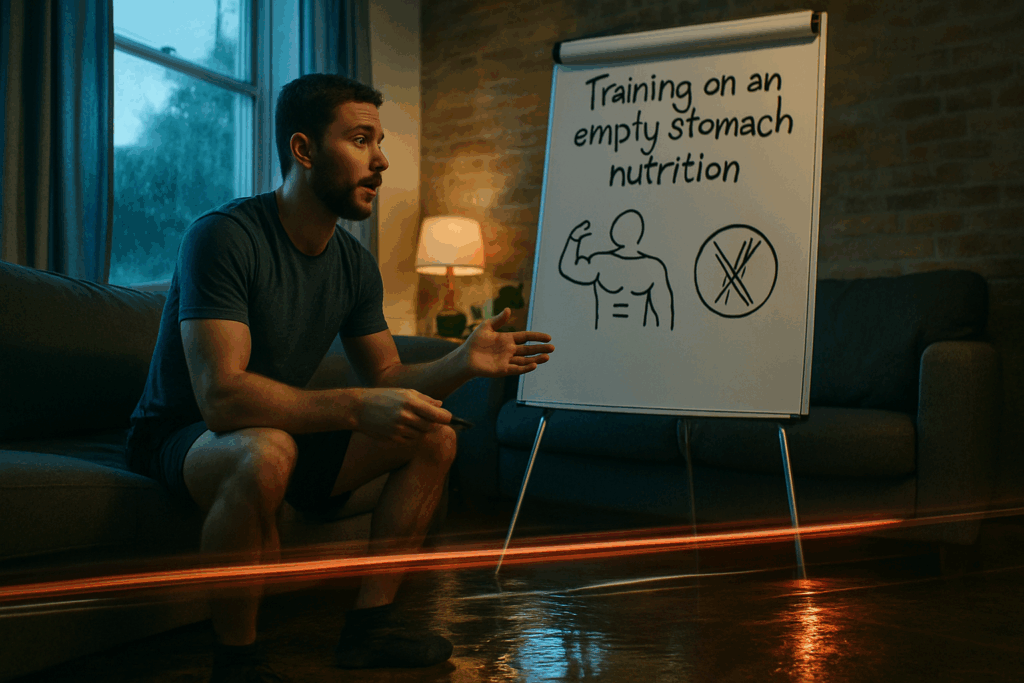
Want to know how bikimsum can make you sick? Sometimes pushing too hard without the right preparation backfires.
The difference between spending $500 and $250 on the same setup comes down to patience and knowing where to look. That’s it.
The DIY Approach: Save Money Through Maintenance and Ingenuity
The cheapest accessory is the one you don’t have to replace.
I learned this the hard way after dropping $200 at the bike shop for fixes I could’ve done myself in 20 minutes.
Here’s what most cyclists don’t realize. Basic maintenance isn’t just about saving money (though you’ll save hundreds). It’s about freedom. You can ride anywhere without worrying about being stranded or dependent on a shop’s schedule. In the same way that neglecting your bike’s upkeep can lead to disastrous rides, overlooking the potential dangers of certain gaming habits, such as those associated with excessive screen time, can teach you valuable lessons about your health, much like understanding “How Bikimsum Can Make You Sick” sheds light on Just as cyclists must understand the importance of regular bike maintenance to avoid getting stranded, they should also be aware of how Bikimsum can make you sick if neglected, reminding us that both our gear and our health require consistent attention.How Bikimsum Can Make You Sick
Learn Basic Repairs
You don’t need to become a master mechanic. Just watch a few tutorials on fixing a flat tire, cleaning your drivetrain, or adjusting your brakes. These simple skills eliminate most trips to the bike shop.
I fixed my first flat in a parking lot using a YouTube video. Took me 15 minutes. The shop wanted $25 plus an hour wait.
DIY Nutrition and Hydration
Energy gels cost $2 to $3 each. That adds up fast on long rides.
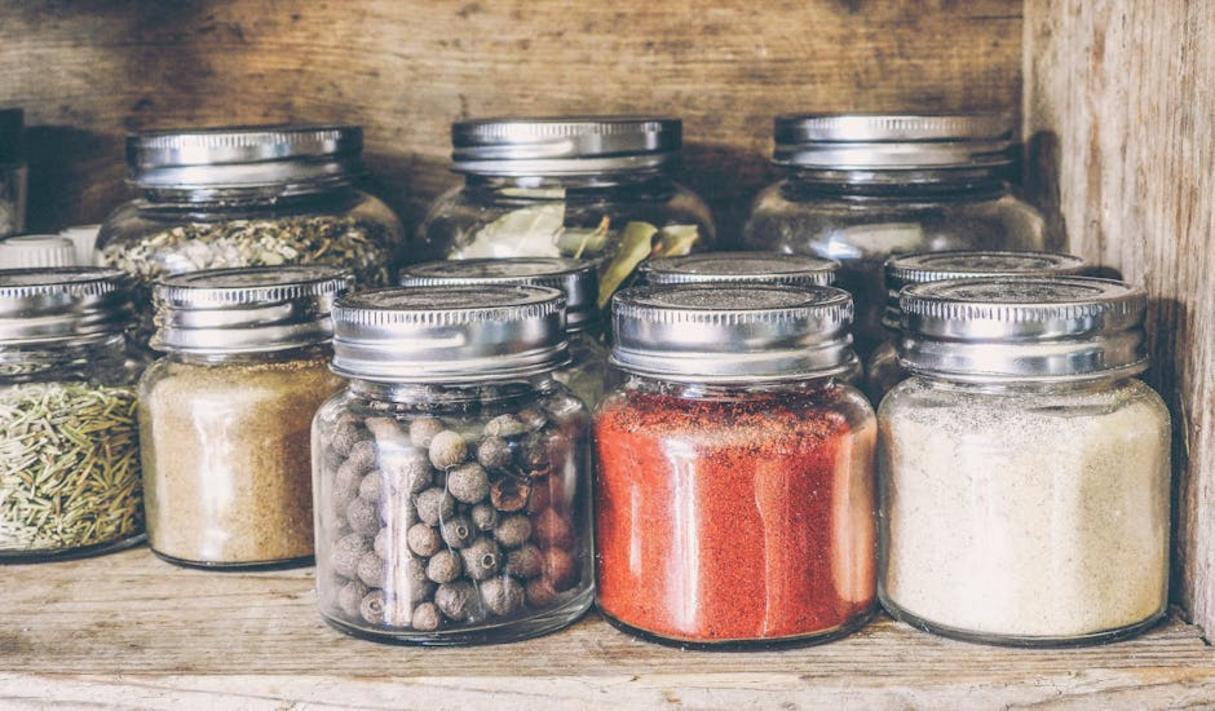
Make your own instead. Simple recipes using oats, dates, and honey work just as well. Your body doesn’t care about fancy packaging. It just needs fuel.
Same goes for hydration. Electrolyte tablets beat pre-mixed sports drinks on price every time. And if you’re wondering why does bikimsum take long to digest, timing your nutrition right matters more than buying expensive products.
Mix your own drink. Add a pinch of salt and some lemon juice to water. Done.
Repurpose and Upcycle
Look around your house before buying new gear.
That old water bottle? It’s now a tool canister. A simple ski strap can secure almost anything to your bike frame. No need for specialized mounts that cost $30.
I use an old sock as a frame protector. Works better than the $15 neoprene one I almost bought.
The benefit here is simple. Every dollar you don’t spend on replacements or overpriced accessories is a dollar you keep. And when you know how to save bikimsum on maintenance and nutrition, you can ride more without stressing about costs.
Your bike doesn’t need premium everything. It just needs to work.
Upgrading Wisely: Where to Spend for Maximum Impact
When you’re ready to upgrade, focus your budget on changes that deliver the biggest performance and comfort gains per dollar.
Tires are the #1 Upgrade: High-quality tires can make your bike feel faster, more comfortable, and more puncture-resistant. This is the single most cost-effective performance upgrade you can make.
Compare a $50 tire upgrade versus a $500 wheelset. The tires will give you better grip and a smoother ride immediately. The fancy wheels? You might not even notice the difference on your daily rides.
Focus on Contact Points: Your body touches the bike at the saddle, pedals, and handlebars. Upgrading to a saddle that fits you or more comfortable handlebar grips can transform your riding experience for a relatively low cost. This is something I break down further in How to Bikimsum Processor.
Here’s what I mean. A $100 saddle that actually fits versus keeping that stock seat that makes you miserable? No contest. But a $300 carbon seatpost when your current one works fine? That’s just burning money. Investing in a high-quality saddle that fits perfectly is essential for comfort during long gaming sessions, much like choosing the right gear in a game, but splurging on unnecessary upgrades, such as a $300 carbon seatpost when your current one suffices, is nothing short of a Bikimsum When it comes to enhancing your gaming experience, investing in the right equipment—much like choosing a quality saddle over a stock seat—can make all the difference, just as players have discovered with the rise of accessories like the Bikimsum that elevate comfort and performance.
Invest in Yourself: Remember that the ‘engine’ is you. Spending a little on a structured training plan or how to save bikimsum can yield far greater speed and endurance gains than a new carbon component.
Think about it this way. You can drop $800 on lighter components and maybe save 200 grams. Or you can spend $50 on a training program and get actually faster.
Your Roadmap to an Affordable Cycling Hobby
I get it. You want to start cycling but the gear costs feel overwhelming.
Every time you walk into a bike shop or scroll through online stores, the prices add up fast. A helmet here, lights there, and suddenly you’re looking at hundreds of dollars before you’ve even pedaled a mile.
It doesn’t have to be this way.
This guide gives you a complete toolkit to build your cycling accessory collection without emptying your bank account. I’ll show you how to prioritize what you actually need, shop smart, use DIY skills when it makes sense, and upgrade with intelligence.
The high cost of gear should never stop you from enjoying a sport that does so much for your physical and mental health.
Here’s what you should do next: Start with the essentials we covered. Shop during off-season sales and check out bikimsum for deals on quality gear. Build your collection slowly and intentionally.
By applying these principles, you can confidently invest in the right gear at the right price. That leaves you with more money and more time to simply enjoy the ride.
 There is a specific skill involved in explaining something clearly — one that is completely separate from actually knowing the subject. Selvian Quenthos has both. They has spent years working with nutrition optimization plans in a hands-on capacity, and an equal amount of time figuring out how to translate that experience into writing that people with different backgrounds can actually absorb and use.
Selvian tends to approach complex subjects — Nutrition Optimization Plans, Pro Perspectives, Momentum Moments being good examples — by starting with what the reader already knows, then building outward from there rather than dropping them in the deep end. It sounds like a small thing. In practice it makes a significant difference in whether someone finishes the article or abandons it halfway through. They is also good at knowing when to stop — a surprisingly underrated skill. Some writers bury useful information under so many caveats and qualifications that the point disappears. Selvian knows where the point is and gets there without too many detours.
The practical effect of all this is that people who read Selvian's work tend to come away actually capable of doing something with it. Not just vaguely informed — actually capable. For a writer working in nutrition optimization plans, that is probably the best possible outcome, and it's the standard Selvian holds they's own work to.
There is a specific skill involved in explaining something clearly — one that is completely separate from actually knowing the subject. Selvian Quenthos has both. They has spent years working with nutrition optimization plans in a hands-on capacity, and an equal amount of time figuring out how to translate that experience into writing that people with different backgrounds can actually absorb and use.
Selvian tends to approach complex subjects — Nutrition Optimization Plans, Pro Perspectives, Momentum Moments being good examples — by starting with what the reader already knows, then building outward from there rather than dropping them in the deep end. It sounds like a small thing. In practice it makes a significant difference in whether someone finishes the article or abandons it halfway through. They is also good at knowing when to stop — a surprisingly underrated skill. Some writers bury useful information under so many caveats and qualifications that the point disappears. Selvian knows where the point is and gets there without too many detours.
The practical effect of all this is that people who read Selvian's work tend to come away actually capable of doing something with it. Not just vaguely informed — actually capable. For a writer working in nutrition optimization plans, that is probably the best possible outcome, and it's the standard Selvian holds they's own work to.